Getting started
If this is your first time using Snappy, follow the guide below to get set up.
Prerequisites
With Snappy we use GitHub Codespaces, hence the only tool you need installed locally is:
How to Start in the Cloud (Codespace)
If you’re new, the easiest way to start is with a Codespace:
- Go to the monobrow-backend GitHub page.
- Click the
Codebutton. - Choose
Create Codespace.
This creates a new codespace and prompts you to open VS Code. Wait a few minutes until the Codespace has been setup, and you're ready to go!
Using the snpy Script
When your codespace has started you will be shown a Linux terminal. Here you have global access to our custom
snpy script which handles various tasks on your machine.
snpy i                      # Install dependencies for both codebases
snpy list                   # List customers currently setup
snpy auth                   # Authenticate your codespace with GCP
snpy create [customer]      # Set up a new customer
snpy dash use [customer]    # Switch the dashboard to a customer
snpy api dev                # Start the API server
snpy dash dev               # Start the Dashboard server
snpy api deploy             # Deploy the API
snpy dash deploy [customer] # Deploy the Dashboard for a customer
Authenticating with Google Cloud
We run all of our services on Google Cloud, so before you can run any code you need to authenticate with your user account:
snpy auth
This will show two consecutive URLs in the terminal. Launch each of these and grant GCP access by entering the code shown.
Customers
When you open your codespace the goal is typically to do work for a single customer. Say you are doing
work for Customer A. First you check if that customer is already in the codebase:
snpy list
# allane
# gerstl
# impact
Activating a customer
If your customer is in the list, you need to activate it before you can launch their dashboard.
snpy dash use allane
Creating a new customer
If you do not see your customer in there, simply create it using the snpy tool:
snpy create customer-a
Start the Servers
When you have the right customer activated, simply start the two servers, i.e. spawn two separate terminals and run the following
# Terminal 1: Start the API
snpy api dev

# Terminal 2: Start the Dashboard
snpy dash dev
After this you are all set, and your browser should automatically open the Dashboard at http://localhost:5173
How to Log In
The first time you open the Dashboard for this customer, you will need a JWT token to log in.
Get it from the Impact Dashboard by clicking Create API Key for your customer.
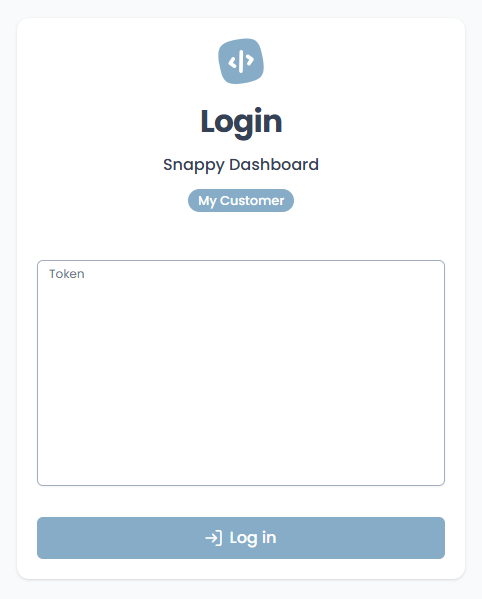
Paste your token in, and you should see your dashboard.